Leaking hatches are indeed unpleasant. Drips are aggravating if falling on your body. Water enables mildew. The list of water issues can be long.
In fall 2014, Diann and I pulled up our four hatches, on our Gemini catamaran, and rebedded them with butyl tape. One of those hatch related posts is linked http://yachtafun.com/product-reviews/buytl-tape-hatches-ports.
Once Spring rains set in, it didn’t take long before it was obvious that there was more to the hatch leaks than the deck seal. During 2015 we ordered new compression gaskets for the Bomar brand hatches. If memory serves me right, the product specific material was over $3 a foot.
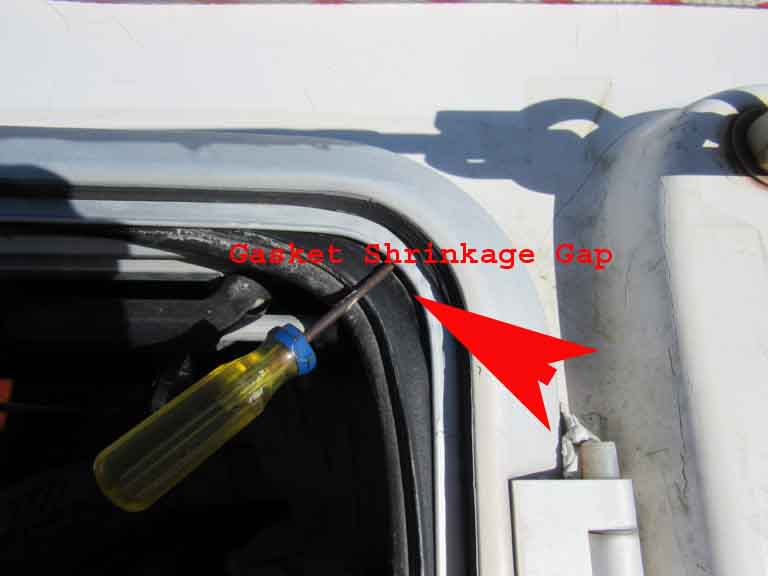
The issue for the gasket seal was that the material had shrunk and in so doing had pulled away from the corners- leaving opening for heavy rain to enter. This is a case of where raised hatches are superior, to low profile, ones. Low profile hatches, like on Gemini sailing catamarans, blend with the deck lines- but offer nothing other than the compression gasket to keep pouring rain out of the interior. 
The Bomar instructions had indicated that you can simply pull the old gasket from the groove under the Lexan, and push the lip of the new gasket in its place. WRONG! 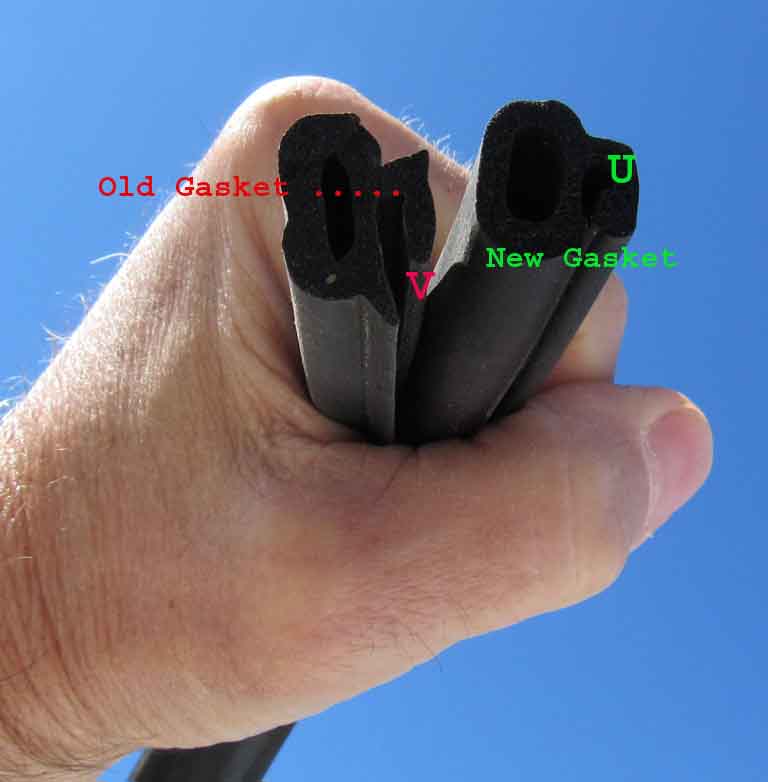
The new version of the Bomar gasket is a squared U shape vs. the V shape of the original gasket on our 1997 boat. Thank goodness we only pulled one gasket for installation. It took butyl tape to save the day(s) during winter. I sealed the corner gaps with butyl tape until now.
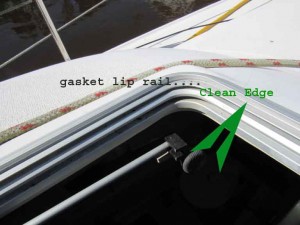
Here’s the reality for gasket replacement. Go ahead and remove the Lexan panels. Clean the panel edges with ReLease by Boatlife. Work hours to remove all the old sealant from the edges of the hatch lids. Install the new gaskets, followed by the Lexan and sealant.
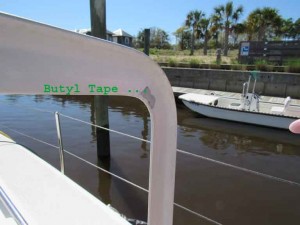
Butyl tape was used to tack the corners of the new gasket as the section was installed over the lid lip
You’ll want to have a debris cloth under the hatch lids to catch old rubber / sealant.
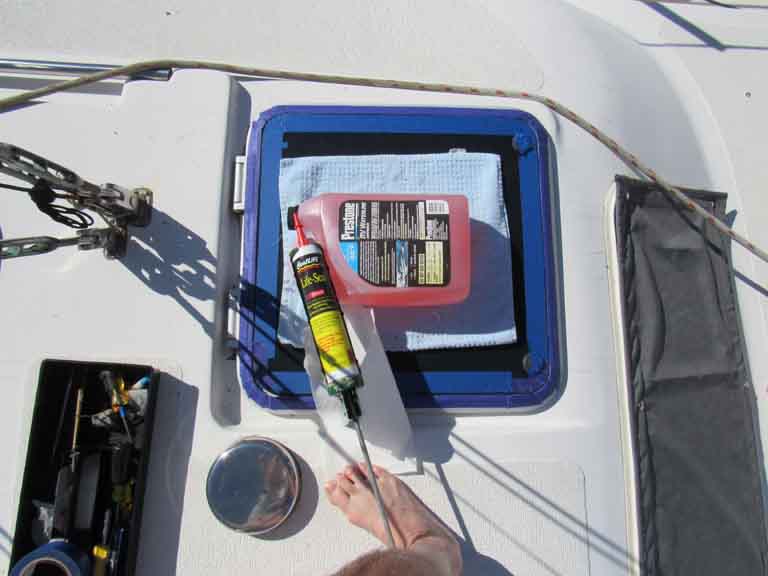
We used BoatLife company’s “Life-Seal” product. It’s a combination polyurethane adhesive and silicon sealant. For details about sealant properties refer to Don Casey’s article linked at http://www.boatus.com/boattech/casey/sealant.asp
We observed that dogging down the hatch, before applying the sealant, causes a slight rise at the Lexan panel’s hinge end. After having tested the process on the hatch over the head, we waited 30 hours of cure-time before dogging down the other three hatches.
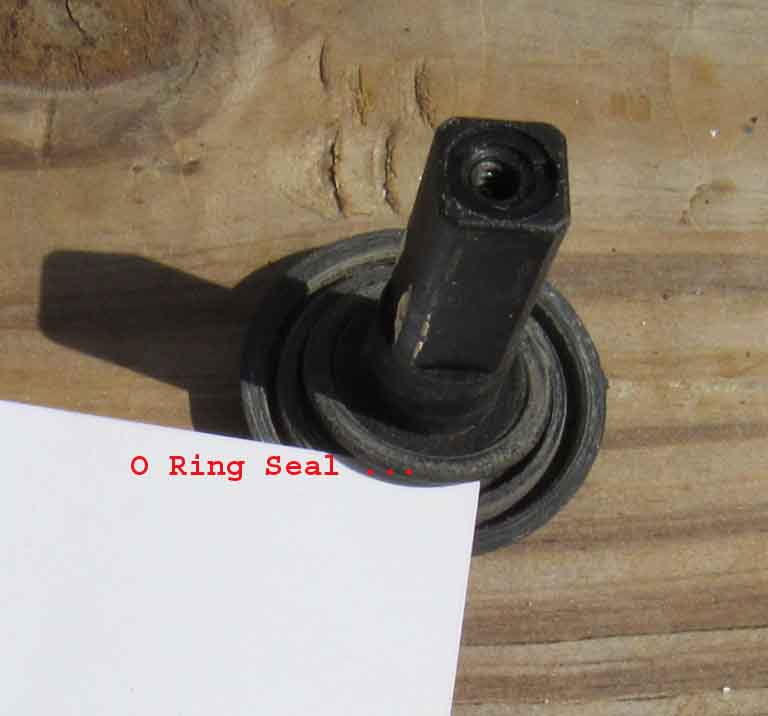
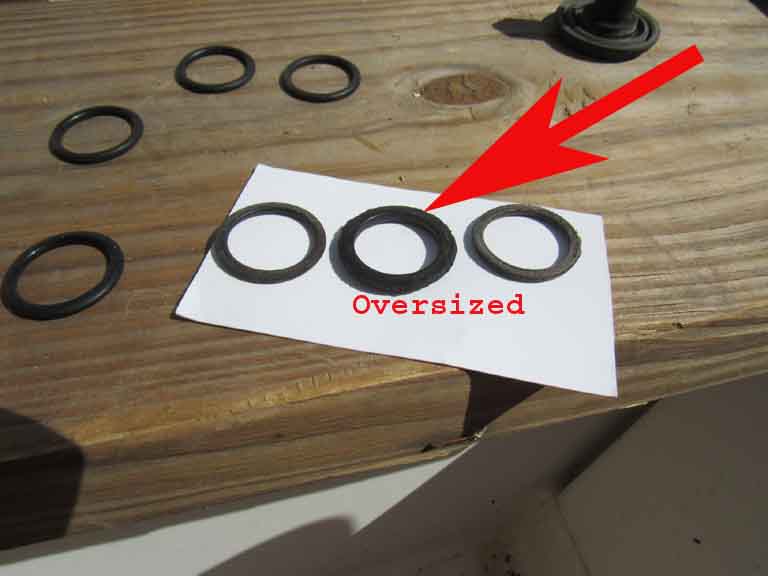
Buy new latch “O rings”. I had no clue that O rings were part of the latch assembly and had previously tightened the assembly to stop small drips from that area. It’s amazing how obvious some things become- when you take ‘m apart in the process of fixing even bigger problems.
If too big a thickness is used, the O rings will flatten and wear early as evidenced by the photo. Buy the right size, even if it requires visiting multiple hardware stores.
Using the weight of a gallon of liquid helped set the Lexan onto the slightly compressed internal gasket lip. Life-Seal holds the panel in place and “caulks” the water out.
The morning after the sealant had been applied, I awoke at first light to pull the masking tape from the Lexan and aluminum edges. Having let the material cure for half its “cure time” allowed an easy clean release.
A heavy rain set in the following morning, after the job was completed. Test one had revealed no leaks!
The story / blog of Yacht A Fun, a Gemini catamaran sailboat, traveling the ICW and east coast with insights to the extended cruising life. Bomar Hatch Gasket & Sealant Replacement




Comments 2
Thank you for the instructions. I have to Do the same on my bomar on a 1990 birchwood ts34.
Regards from germany
Marcus
In the USA at least, Caterpillar dealers have the most extensive selection of O-ring sizes one can find and with excellent quality. Might save a lot of running around.