Our Gemini catamaran sailboat didn’t have solar power when we bought her. And for that I am glad. If there had been solar, we would probably have gotten by with whatever unit was on board. But new technology is allowing superior power for less dollars!
Kyocera 255
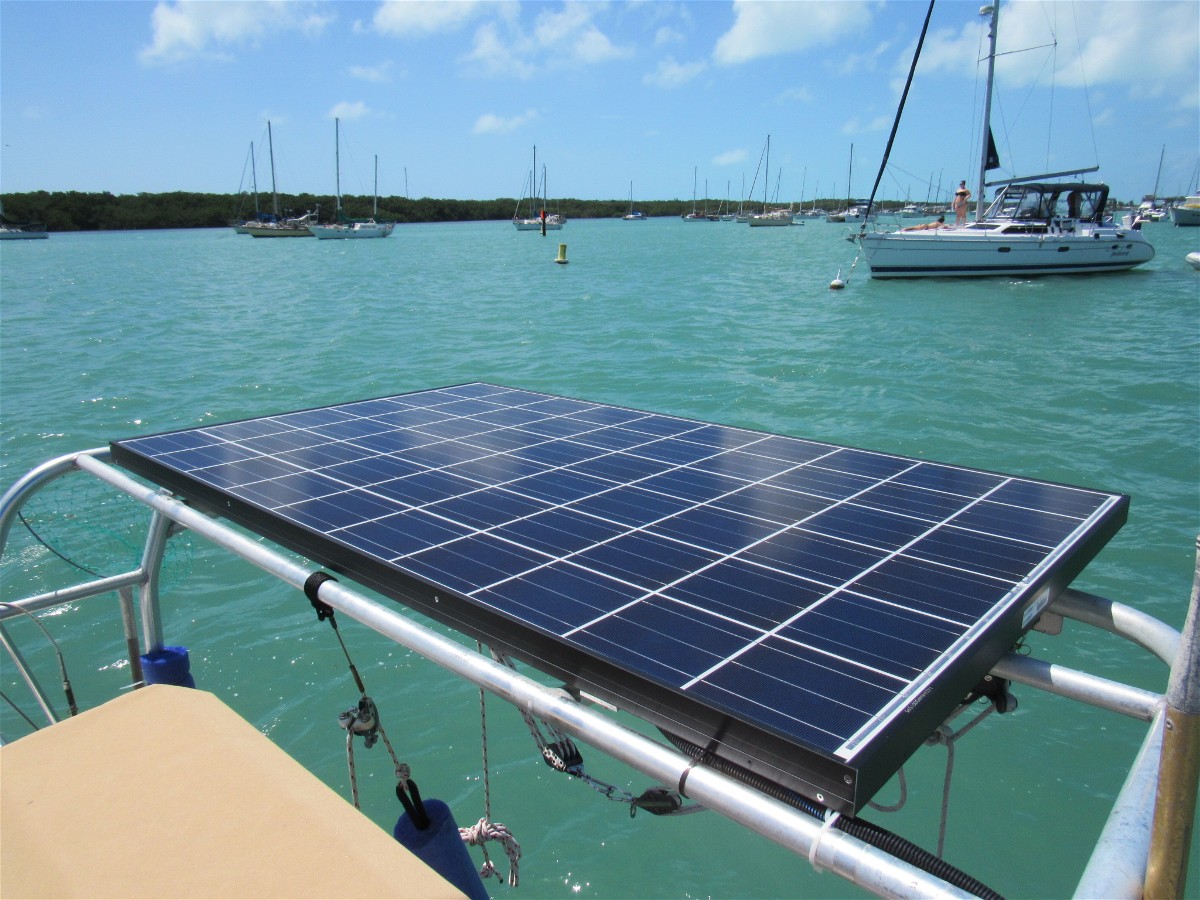
Knowing how much one can see at the Miami Boat Show, we had waited to make our decision based on exhibitors at the show. We opted for the 255 watt Kyocera model sold by eMarine of Ft. Lauderdale. (eMarine has been wonderful to work with. The staff counseled me well, and coached me via phone during the installation process. They are a great value. )
Installation had to wait until we arrived at Marathon / Boot Key.
The process took parts of multiple days.

the davit system before the solar instalation
First the support rack of aluminum flat-bar had to be attached to the davit system. That required spacer material which was acquired 50 miles away in Key West ( we already were going anyway). Stainless steel “U” bolts were acquired in Marathon.
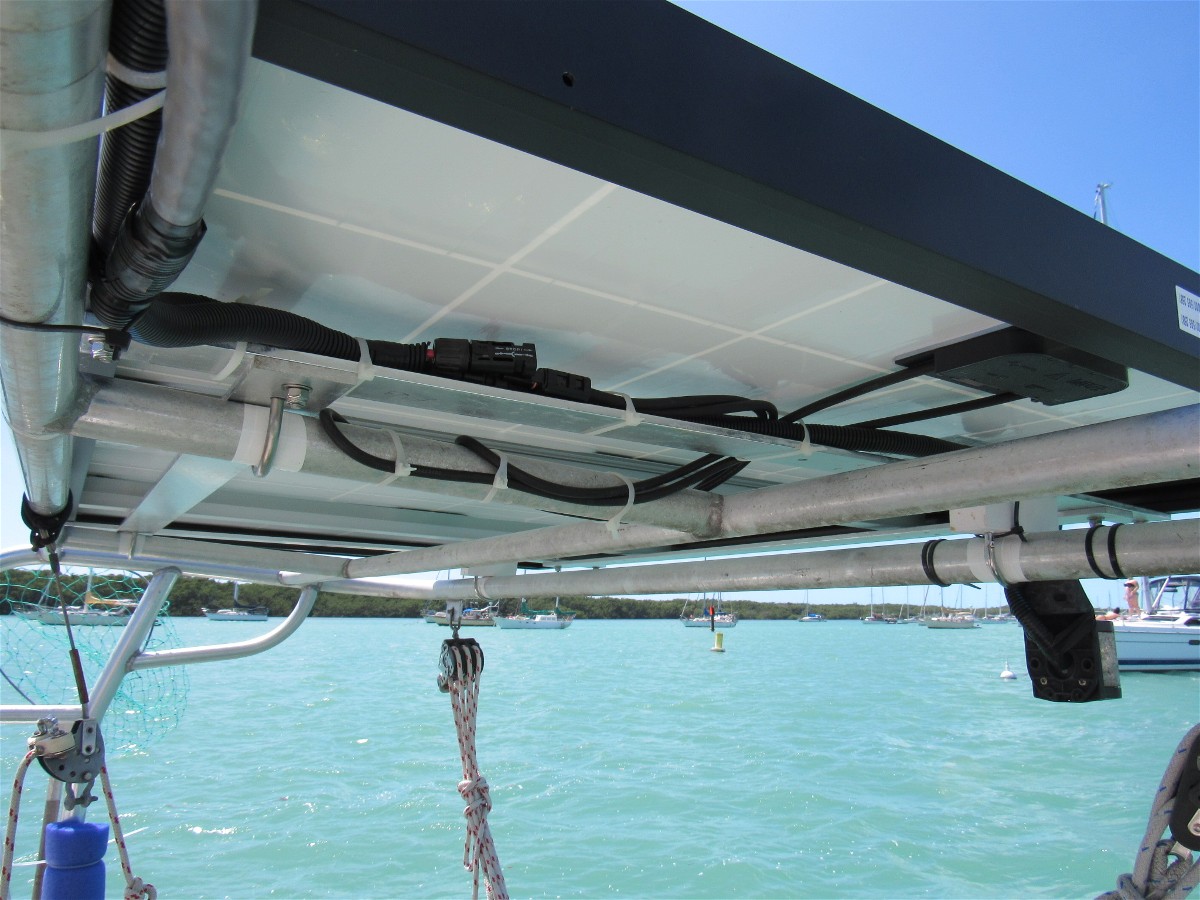
rack support system seen from under the panel
Measurements were taken and marks made while standing in the dinghy with it roped to the back of Yacht A Fun. Imagine having your “floor” moving vertically and horizontally as you hold onto the overhead davit with one hand and try to make accurate marks with the free hand that’s holding a blue Sharpie marker!
Our saw horses and work table became the primary use of our rear deck / cockpit. Holes were drilled into the flat-bar where marked. By sundown of effort-day #2 the rack was secure.
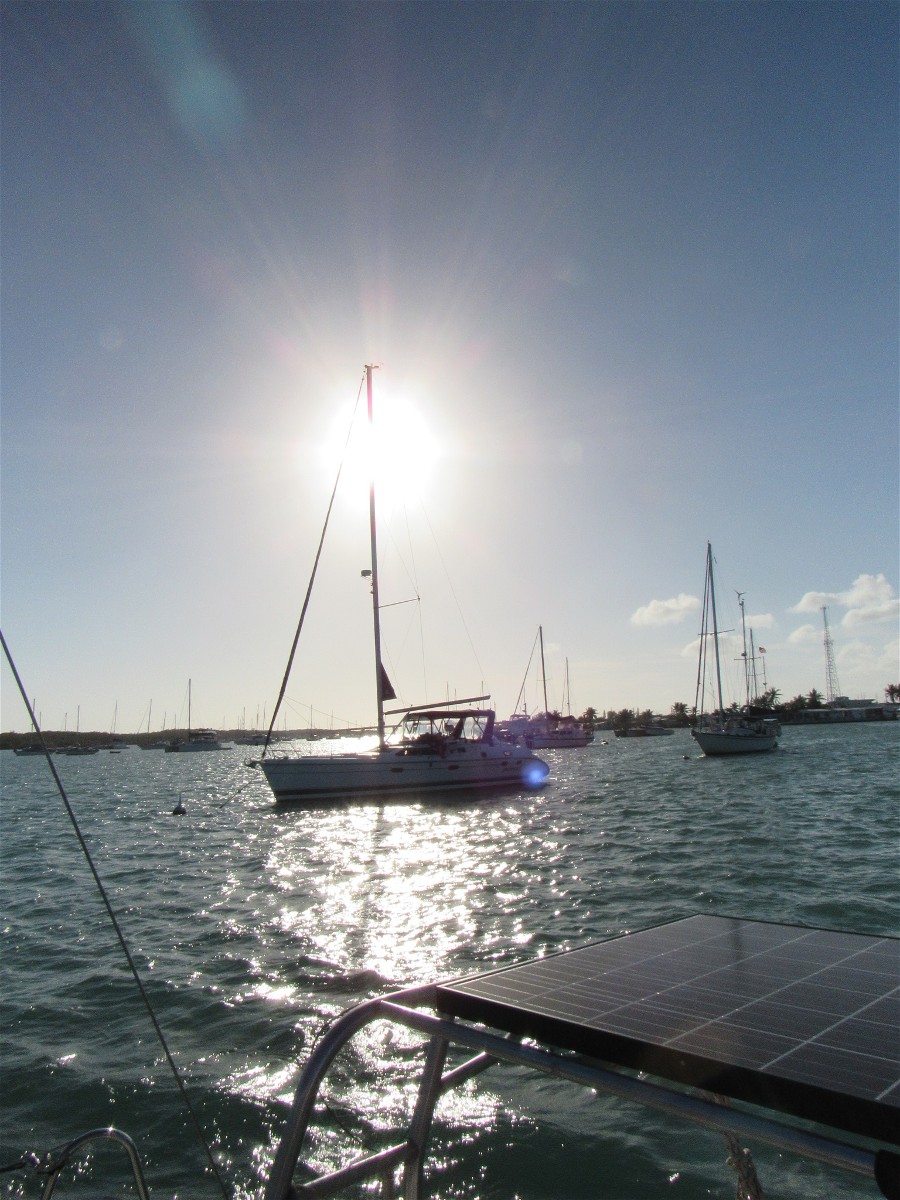
Day #3 we installed the solar panel to the rack and ran the wiring as far as the port berth closet.
The little compression fitting for the wiring ended up taking more than two hours to do.
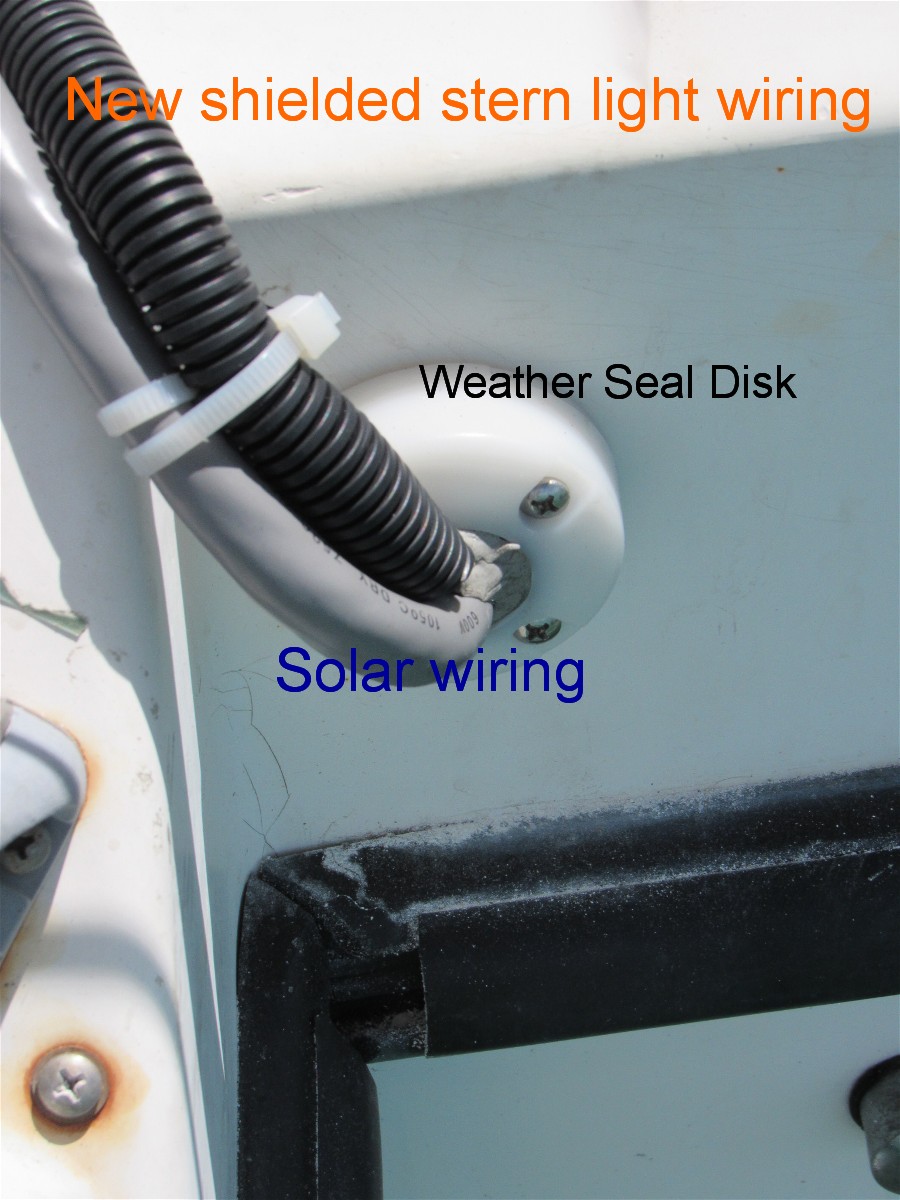
round compression weather seal took two+ hours total
Admittedly, I ran the new stern light wiring thru it and therefore had to customize the rubber plug. And, the provided thru hull mounting screws were long enough that I felt some chafe abrasion could occur to the two wires- so the four screws were removed one at a time and shortened with bolt cutters and Dremel’d to round the resulting blunt ends.
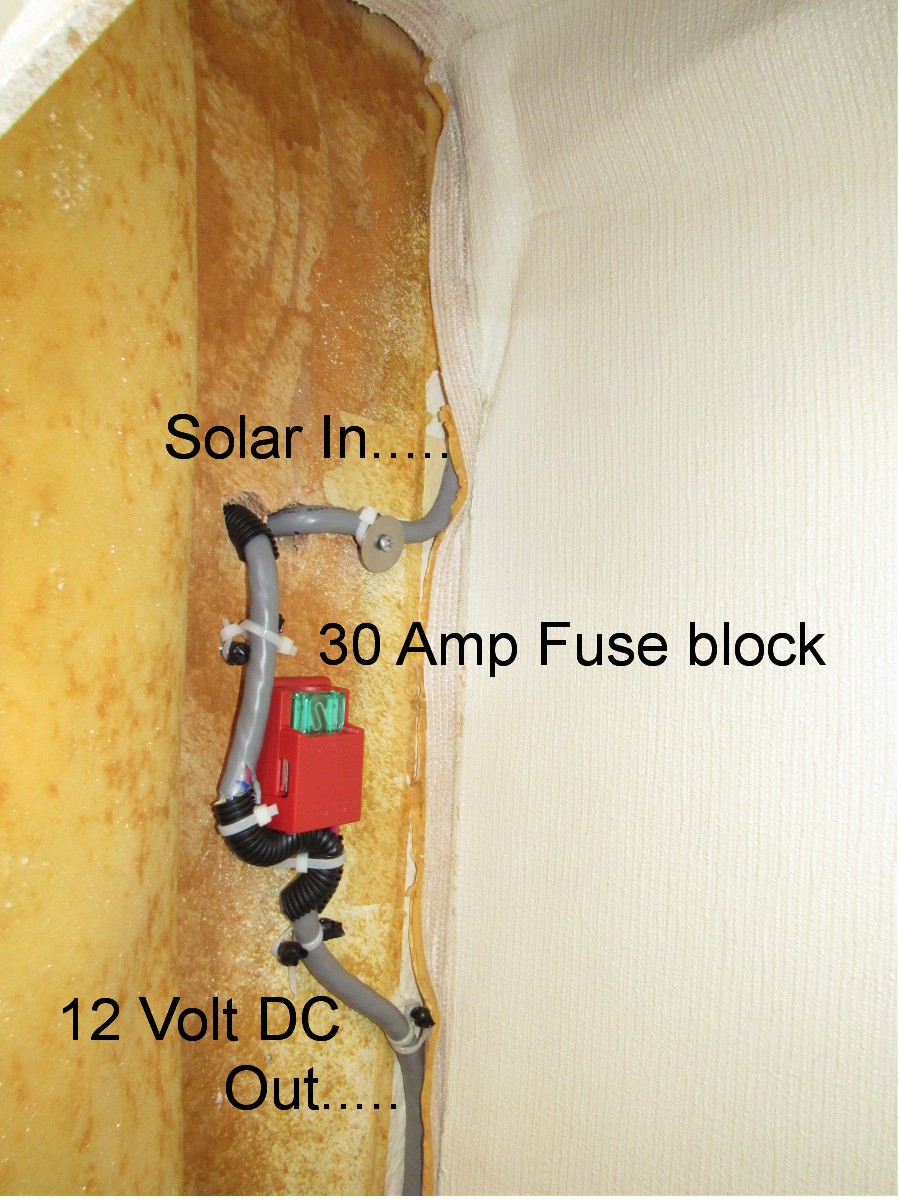
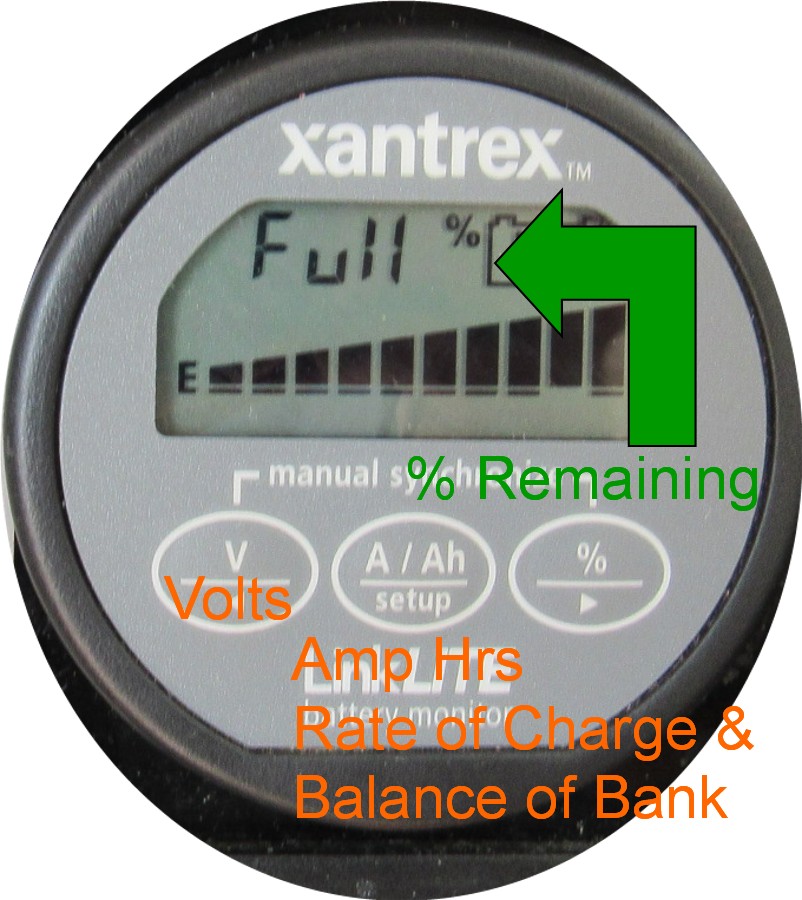
Day #4 we installed the solar power monitor / converter unit to the port berth closet wall and further ran the wiring thru a 30 Amp fuse block installed within the closet and on to attach to the bus bars within the battery box. 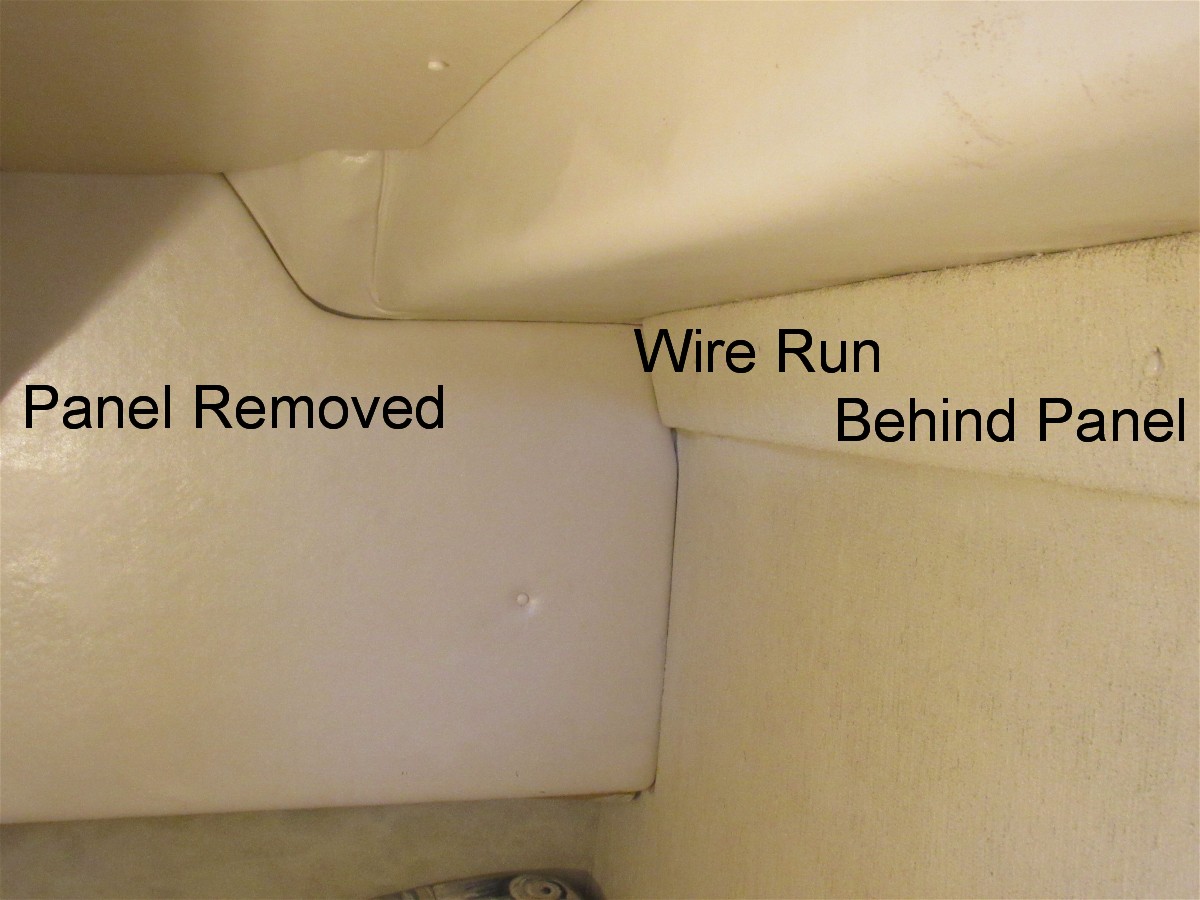

closet wall liner pulled back for wire installation
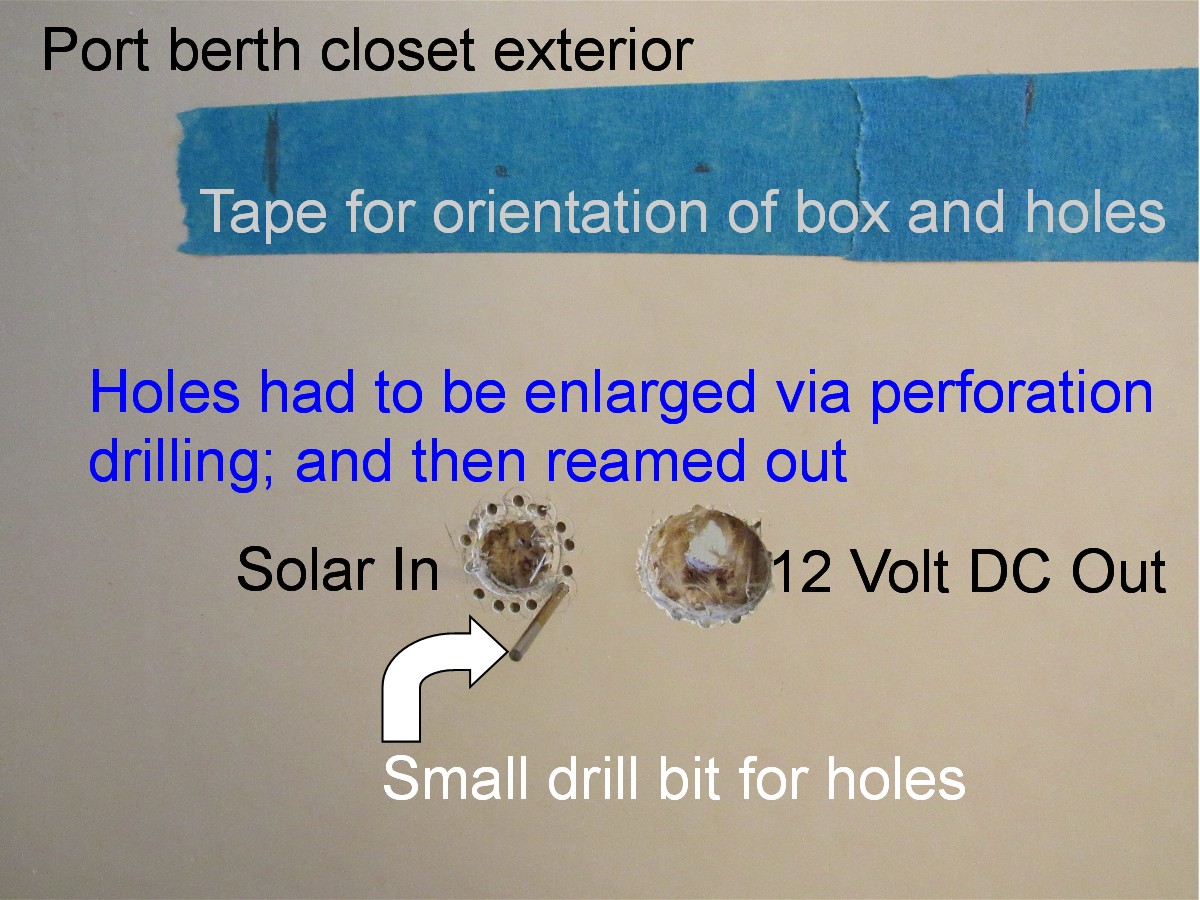
the large holes weren’t large enough, so they had to be enlarged
The system worked BUT- the controller’s four crimp fitting’s connector loops were too large to fit in the receiving box channels and so I had trimmed off a significant amount of metal make to the connections. The wrong crimp connectors had been an eMarine goof that I had perpetuated by modifying them instead of waiting another day to purchase proper sized ones. 
Literally, I stayed awake thinking through what to do. The more I thought about heavy electrical loads going thru less than needed connection points, the more I became concerned about resistance heat. The concern was simple- big wires carry loads better than small wires. Full circle connector loops were proper. Circles of metal cut into half loops were not proper.
So, on Day #5 we went to West Marine and bought the proper sized crimp fittings and replaced the oversized connectors with ones matching the size of the connection pads within the controller. Had I waited, in the first place, I’d have slept well. Lesson Learned!
And wonders of wonders- after 2 and a half weeks, the diesel engine is yet to be started for battery recharge. 
One secrete to our solar success is that we bought a panel which provides double the amount of power we average using in a day. So, on cloudy days, we are still getting as much charge as we need.
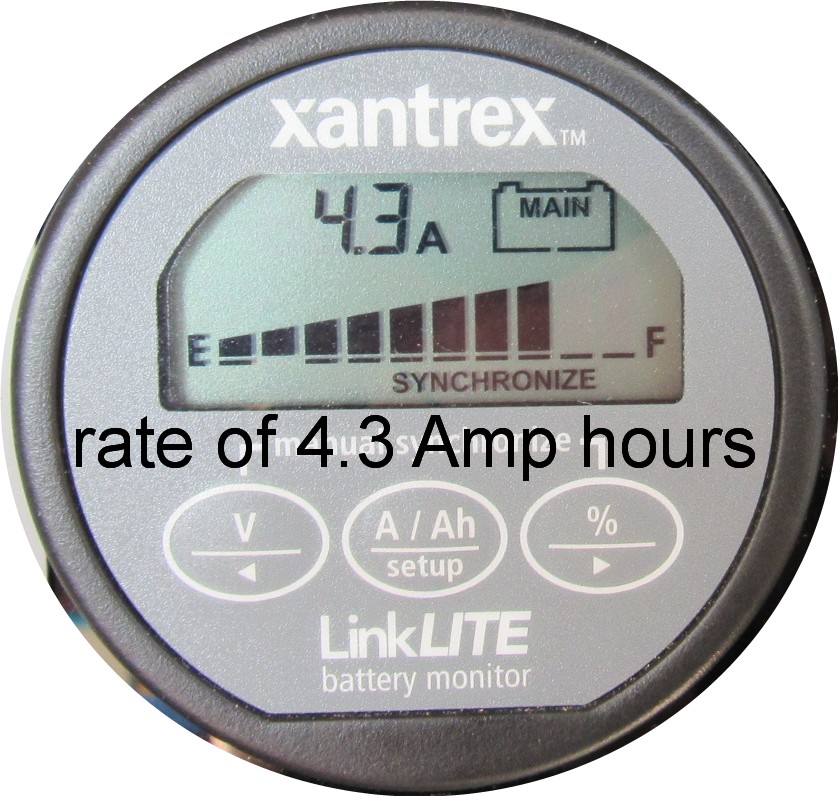
Even with low sun angle, the panel was producing over 4 amps of power
The batteries have been fully recharged by around noon each day.
But there’s days #6 and #7 left to reveal……………
Part of day #6 we shopped for auto headliner spray adhesive so we can reattach the fabric liner pulled from the port berth closet interior.
The adhesive can is on the dining table waiting for inspiration to strike as Diann and I have been working on refinishing teak interior boards as the current priority. Spraying the adhesive on Project Day #7 will happen. In………….April, cause March is now gone!
Comments 2
This is a great how to story! Can I share on Kyocera Solar Energy Group facebook page tomorrow?
Author
We are still very happy with the panel and the control module from e-Marine in Ft. Lauderdale.
Great products.