What a great day. The weather was cooperating with zero rain and the temps were in the mid 70s. Diann, ever ready to have clean cupboards spent her working time with more painting.
Having glued cardboard mock-up part # 3 yesterday afternoon, I was ready to see if it fit as planned. And, yes it did. Part 3 is the cover cap of the other parts and the holding tank.
The mock-up design process has been to take measurements and make sketch notes which are transferred to graph paper before then transferring to cardboard to cut a pattern.
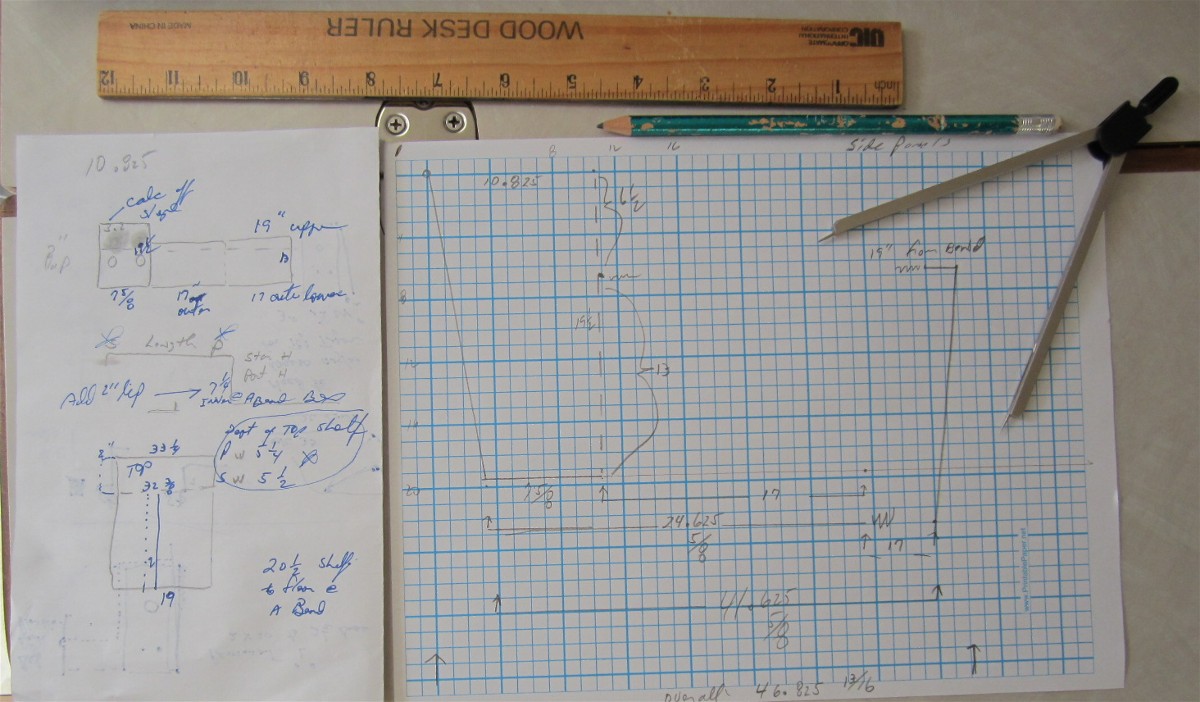
Notes made for mock up effort
Having confirmed the holding tank cover system will work, I decided it was time to begin sanding teak which can’t easily be sanded while at anchor. So, I took the main cabin door off the hinges early this afternoon. Like so many boat projects, it wasn’t straight forward.
Someone, I assume the manufacturer had used screws like found securing restroom stalls to walls. Why? Why would anyone be concerned about security of a boat door when just breaking the Plexiglas would be so much quicker?

Idiot Screws
There wasn’t a screw driver in the boatyard to fit the mystery screws. By using vice grip pliers and a pair of drill bits- I improvised.
Then there was the lower hinge which had to have been a plant installation as it was held to the bulkhead by bolts with no easy access to the nuts. Apparently they installed the heavy duty bolts and that one hinge before mating the cabin deck parts together. Yes I got the three bolts removed. One nut was so loose that it fell off. Bolt number two did stay in place with a screw driver wedged against a face. But number three had to be hack sawed between the plastic bushing and the bolt head. Bo-zarr boat design, to say the least.
After getting the bolts out it was time to fill in the oversized holes with West System Six-10 (which is great stuff indeed). On which ever day it is that I re-hang the door, a simple drill of the epoxy plugs will yield the right hole for the right screws.
We needed to cover the door openning. Left over (from a Hickory construction project) aluminum clad bubble wrap worked well to solve the problem.
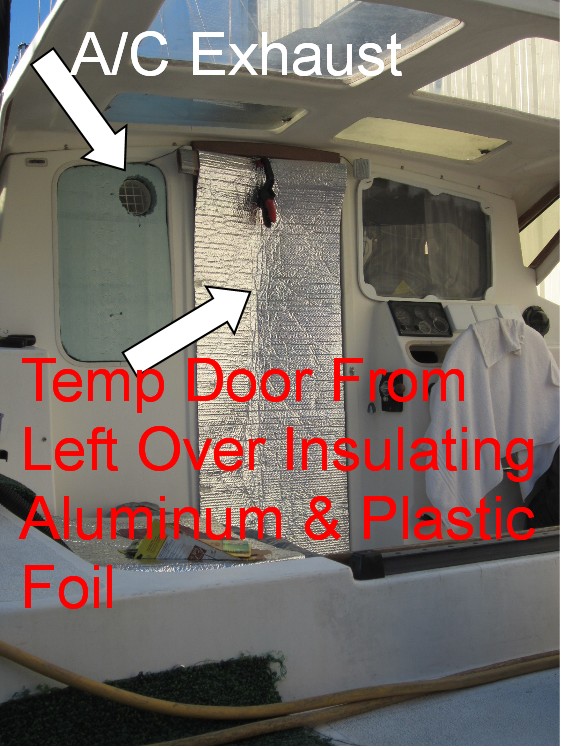
Temporary Door
The Grill Man called today and indicated the first phase of our horizontal Catalina Grill attachment pole was ready. Around 8PM we cooked chicken on the grill supported by the new pole. The pole will need a triangular brace, however. But, that was the point of bringing it back for a test of the grill weight and stainless steel tube flex over 78 inches.
Before the sun went down, and before cooking dinner, I just had to do some sanding of the door……………
After sanding, I put the door in our “garage”…
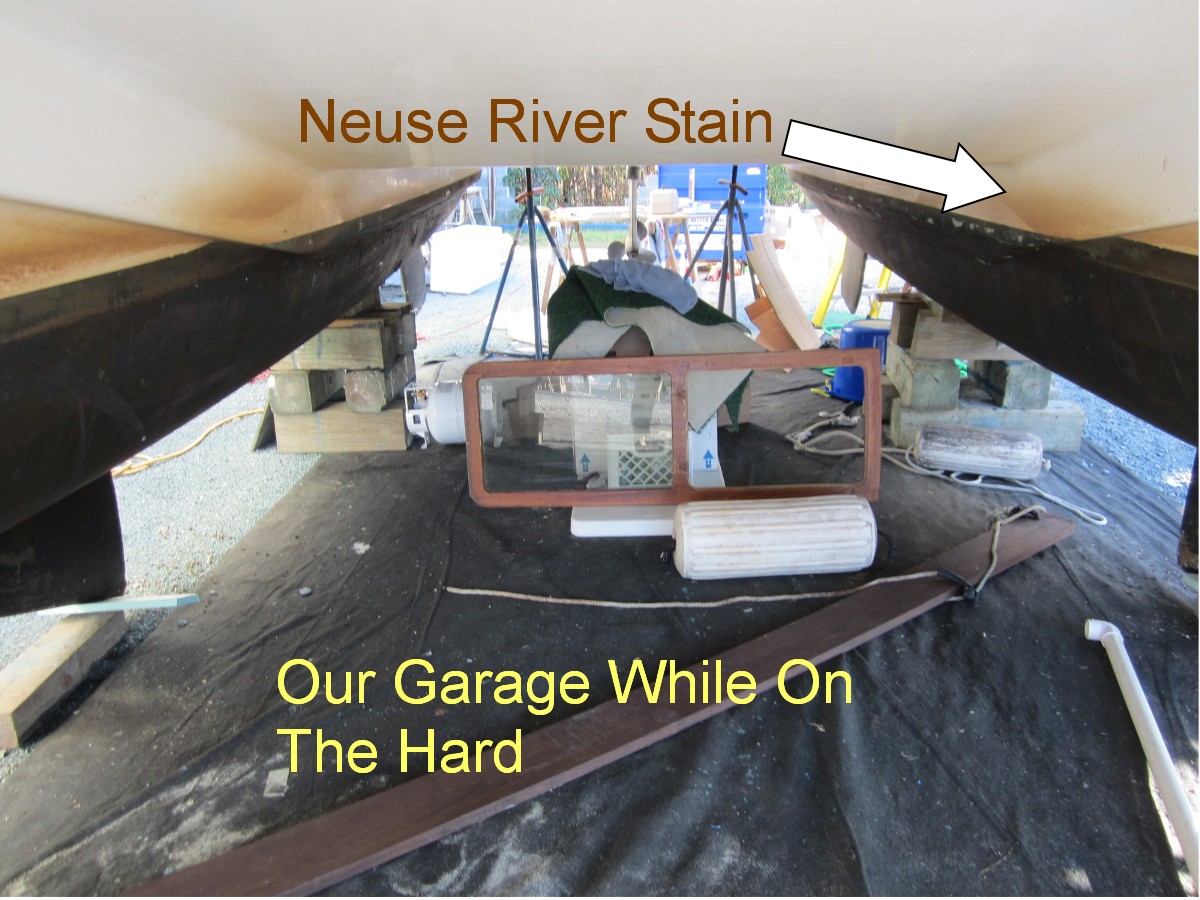
Under the Gemini Catamaran is our “gagrage” while on “the hard”
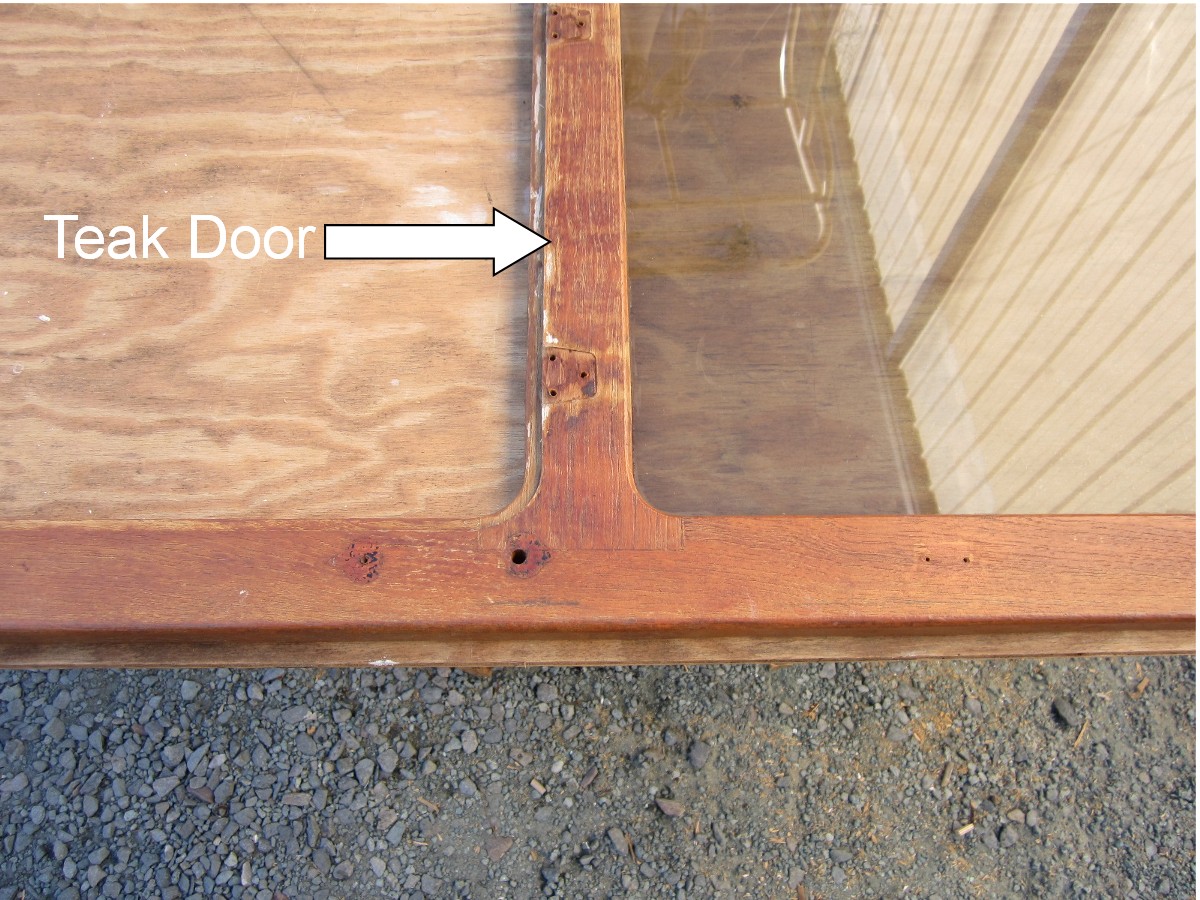
Teak Door Being Sanded