Gemini sailing catamarans of Yacht A Fun’s 1997 vintage were designed such that small wave ripples are caught in the square shoulders of the inner hull transition. When at sea, the small sounds are masked somewhat by the boom sound of the bridge deck being pounded by full sized waves and swell.
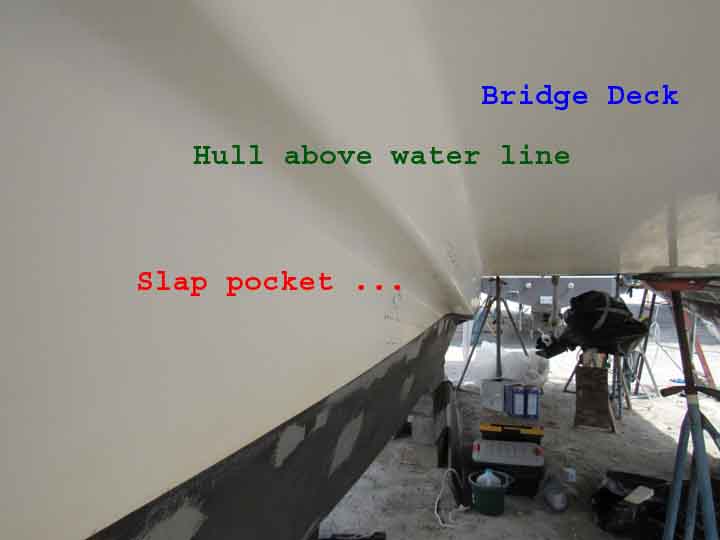
On a mooring, or at anchor, small waves reach the hull shoulder’s combination of bow to stern slope having 90 degree horizontal profile- and creates loud popping sounds as the wavelet ripples catch air pockets which explode with “plop, plop, plop” voices. Some Gemini catamaran owners refer to it as “wave slap”.
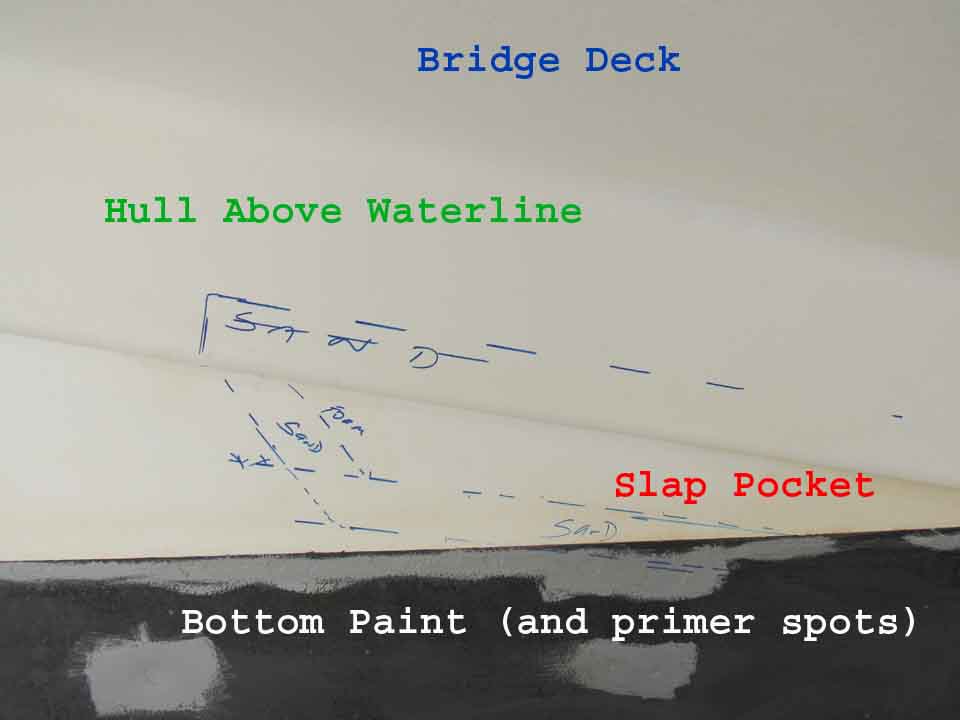
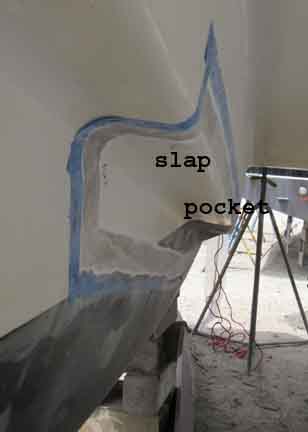
Blue Marker helped outline the area before taping up the guide line
One CAN get used to the sound- kinda like living next to an airport! Diann and I swore we’d do an up fit modification similar to the one effected by Jim Faughn on his Gemini named Freedom. Thanks to Jim’s emailed coaching, our up fit is under way.
New epoxy doesn’t bond onto gelcoat with lasting results. Therefore one has to grind / sand the gelcoat down to the underlying fiberglass. Sounds simple doesn’t it.

Our up fit affects only six lineal feet of added 45 degree filler foam and new epoxy / fiberglass. How long did it take me to sand out 1 ½ inch ribbons (which totaled about 26 lineal feet) ? Try 12 hours while wearing a Tyvek suit, head sock, goggles, and respirator mask.
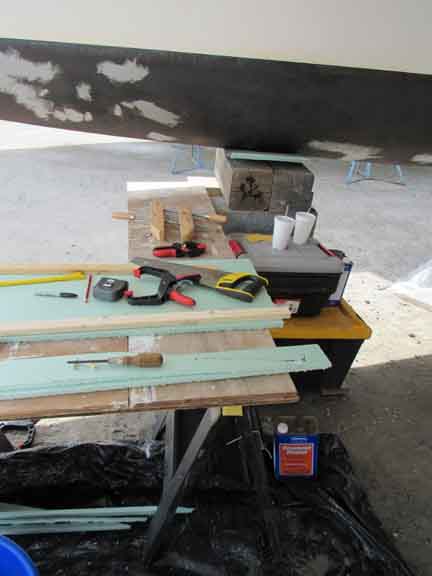
The Rockwell vibrating mult-tool’s triangular “hook and loop” head didn’t hold up to the task. So, off to Lowes we went to acquire a cheap pointy ended Black & Decker sander. The B&D sander held up- though I used over two dozen sanding pads!
Some surfboards are custom made with polystyrene. We chose the denser version called blue board. Each board, from that 4 by 8 panel, had to be successively custom fitted to the hull shape. To work through the process we re-purposed fifty drywall twist-function anchors as screws.
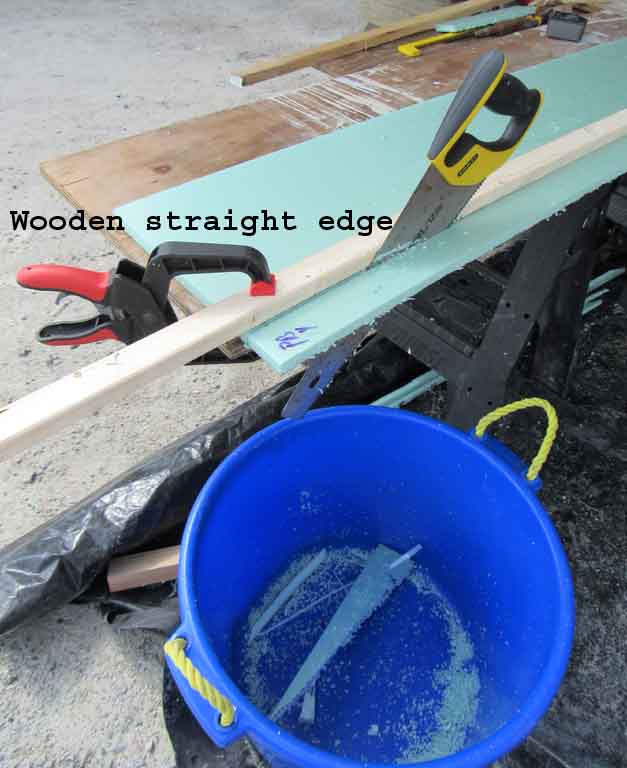

Once boards one and two were temporarily laminated via the “screws” we could hold them in place to mark board #3- and so forth thru six ½ inch foam board/strips.

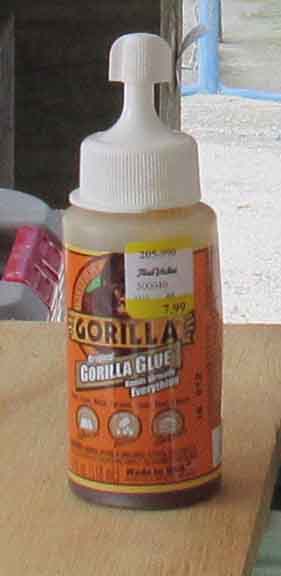
Once comfortable with the laminated fit, the screws were removed, Gorilla glue added to areas of foam which had been sand paper scuffed, and the screws re-placed as guides and pressure points for the glue.
When both sets of slap stopper foam had been glued, we put small sections of plywood on top to press the glue joints as firmly as we could- and let it sit all night.
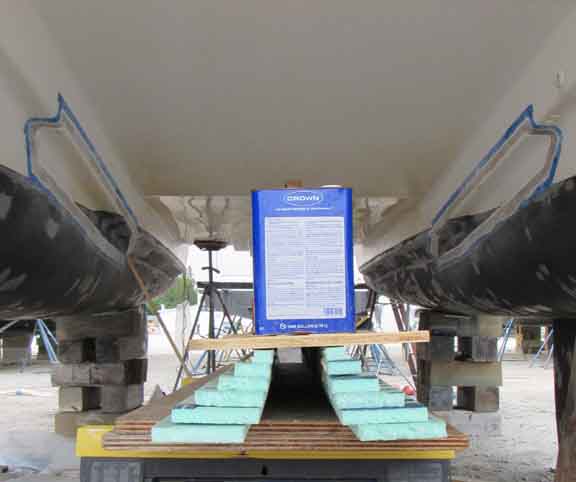

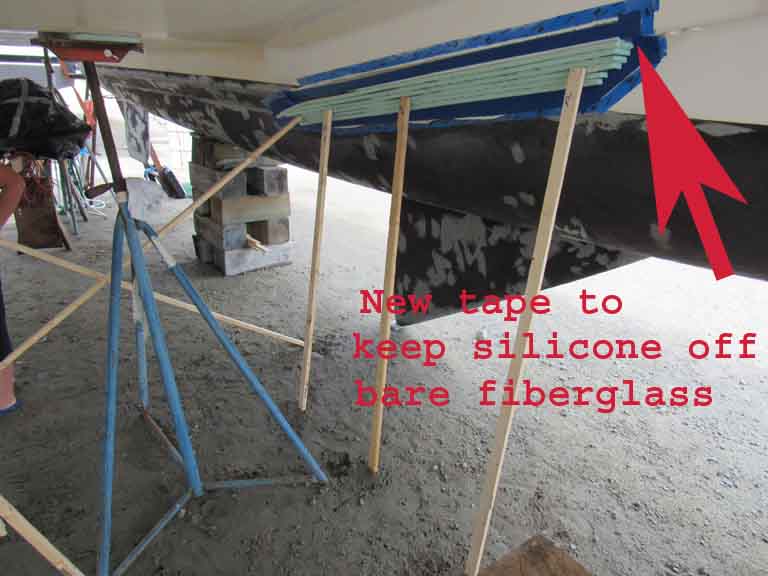
One inch by 2 inch furring strips were used to support the sections while being attached using 100% silicon adhesive. The adhesive’s purpose was to keep the foam in place:
while being dressed down to the final shape;
while being “faired” with West System epoxy 105 resin, 206 hardener, and 410 filler; and
while having three layers of fiberglass cloth laminated (over the faired foam) onto the hull’s
fiberglass ribbons.
Once the fiberglass / epoxy has cured, gelcoat will be applied; and bottom painting can be completed.
Conceiving a boat improvement project, “priceless”. Executing the project- very time consuming!
The story / blog of Yacht A Fun, a Gemini catamaran sailboat, traveling the ICW and east coast with insights to the extended cruising life. Bridge deck slap
Comments 2
I’m a recent new owner of Gemini hull #828 and I’m very interested in how effective your bridgedeck slapping fix turned out. The slapping & pounding are very frustrating so I’m trying to find a fix to reduce these wave effects.
Thanks,
Mike Krattli
Maple Valley, Wa.
Author
Slap fix seems to be effective. More use in July should help confirm the results.